1. Stir together 1 1/2 cups all-purpose flour, 1 1/2 cups whole-wheat bread flour, 1/4 teaspoon active dry yeast, and 2 teaspoons of salt in a large mixing bowl. Add 1 5/8 cups warm water, and stir until everything is combined. It will look like a sloppy mess!
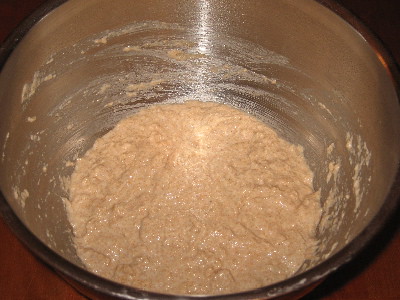
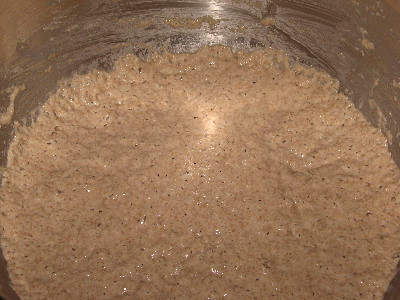
2. Cover the dough and let it sit at warm room temperature (I stuck it in my oven so the pilot light could keep it just a little bit warmer,) for 12 to 24 hours. (I went about 13 hours on this first rise.) It will look like an even bigger mess now:
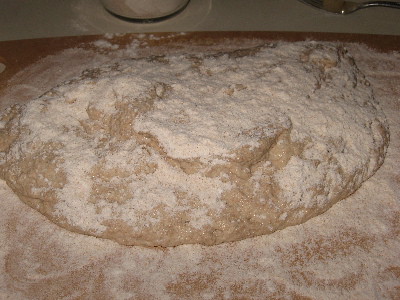
3. Flour your work surface well and turn your dough out onto the surface. (I found using a silicone spatula to help the dough along during this process was indispensable.) Fold the dough over once or twice, and let it rest for 15 minutes. Still messy:
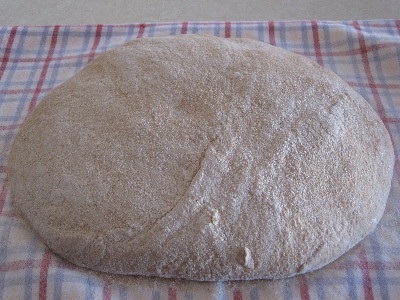
4. Shape the dough into a ball, using enough flour to keep the dough from sticking to your hands and the board, (I ended up using almost a cup of flour during this process,) and transfer this ball to a very well-floured dishtowel or Silpat. Flour the top of the dough, and cover it with another dishtowel or a piece of plastic wrap. Looking less messy now:
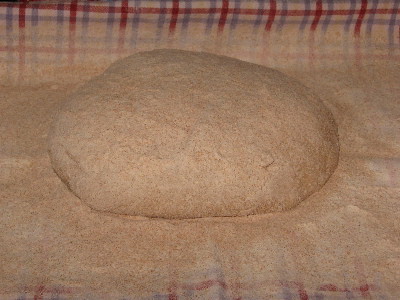
5. After about an hour and a half, preheat your oven to 450 degrees Farenheight, and stick a large (4 to 6 quart, although I used a 3 1/2 quart All-Clad casserole) pot or Dutch oven (ungreased) in the oven, so it can get nice and hot, too. Wait at least another half an hour, and up to an hour and a half, until your dough has doubled in size. (My dough got flatter and much, much bigger -- see?)
6. Take the pot out of the oven and use the towel or Silpat to flop the dough into the pan. (I thought ahead and used a pastry brush to remove most of the excess flour from the towel and the top of the dough before floppping, to prevent a huge, messy cloud I'd later have to clean up. It worked wonderfully!) Give the pan a shake or two to evenly distribute the dough:
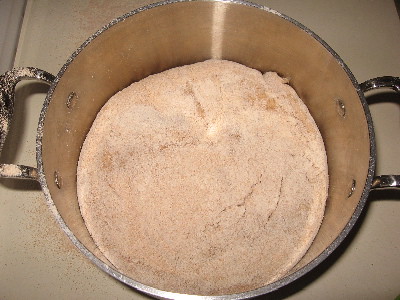
7. Cover and bake the bread for 30 minutes. Then take the lid off:
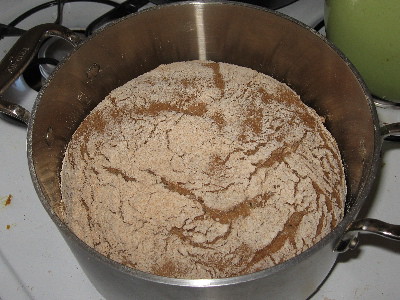
8. Bake 15 to 30 minutes longer, until the bread is lovely and browned. Turn your bread out onto a wire rack. (It will just fall right out of the pan . . . it's truly amazing! Resist the temptation to grease the pan!)

9. Cool on a wire rack, then enjoy.
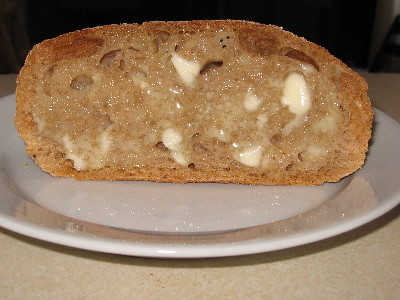
Other than having to time your bread process somewhat, this was nearly effortless, and produced the best loaf of homemade bread I've ever made. Light, chewy, airy, delicious. Make some and tell me how yours turns out!
9 comments:
what kind of pot did you use? hat part confused me. I don't have a dutch oven, per se. I do have a big aluminum pot though. Otherwise, I've really wanted to try this- it looks great. did you make a whole wheat version?
Yes, I like how you had it as "2 tsp salt" ... I think the Strib article called it a "scant Tablespoon" and I have found that it has to be a VERY scant Tb for it to not be a bit too salty. So yah, 2t is probably about right.
interesting... I've heard mixed reviews for this bread. It always looks great!
I loved your Chai from the last post... yum!
Ok, everyone who's made this bread has ended up with mouth-watering results. What am I waiting for? That last picture of the toast with butter especially gets me!
I am so glad your bread turned out. I also made it and it looked lovely, but the taste was yuck! The crust was good and the insides were like weird rubber. Check out my blog and you can see. It was a realy bummer. Congratulations!
I must be living under a rock because this is the first I've heard of this. (Must have missed Bryanna's post) I am extremely intrigued though and would love to give this a try! Do you know if anyone has tried to make regular loaves instead of a round one? Thank you Catherine for sharing this. I am a bread-o-holic and that last photo of the melting margarine has my mouth watering. I soooo want a big hunk of bread right now!
Oh my goodness! I have seen reference to this bread on many blogs, but none explained as clearly as yours. And your photos are great too.
Emily, I used an All-Clad MC2 3 1/2 quart casserole, which is basically a small soup pot. I don't have a Dutch oven either, so I used the best thing I had! I bet your aluminum pot would work just fine -- you just need something oven-safe that has a lid. Also, I have been making a half-and-half loaf -- using half white all-purpose flour and half whole wheat bread flour. I'd like to experiment with using all whole-wheat bread flour, with some gluten added in to improve the texture. If I do that, I'll let you know how it turns out!
Stephanie, even with reducing the salt to 2 teaspoons, I may cut it down even further next time.
Melody, thanks! I am on my second batch of chai already -- it's an awesome treat.
Bazu, go for it! The bread really is practically foolproof.
Veg-a-nut, I'm curious about your bread's texture. The first loaf I made, I let it rest for about 12 hours, and the insides were a bit "springy" for the first day or two, but then hardened up a bit as the bread sat around. The second loaf I made, I let it rest for almost 24 hours, and it is much less springy. (I also slightly reduced the amount of water, and slightly increased the amount of flour.) I also used half whole-wheat flour, which probably made the bread taste a bit more coarse. What did you do when you got the yukky results?
Carrie, let me know if you do end up making the bread, because it's AWESOME! I hadn't thought about making a regular-shaped loaf . . . I guess if you could figure out a way to cover a loaf pan without the bread popping the lid off while baking, it's worth a shot!
Judy, thanks! I had a lot of fun with this -- both making the bread and writing the post!
If anybody conquers the regular-shape-loaf question, I'd like to know! I've been making sandwiches with the bread, and it's not the ideal shape for that.
Post a Comment